


Cleaning products
You’ve probably already come across bike spray cleaners such as muc-off, which you can spray everywhere, leave on for around 30 seconds, use brushes sponges, etc to scrub and loosen dirt and then rinse off.
There are many brands of bike cleaners – some more expensive than others, I have never really noticed much-improved performance from more expensive brands.
It can be bought, in bike shops, online, Aldi sometimes has Muc-off in the middle aisle, Wilkos sells its own brand of cleaner, many of them are biodegradable but it’s worth checking.
To save more money and help the environment, you can buy cleaner in concentrated forms in bulk to dilute into spray bottles, you can also use car shampoo however avoid using washing-up liquid as it is a very abrasive cleaner designed for baked-on food, it’s also a bad idea to wash your car with it, it will ruin the paint!
Cleaning tools
Bike cleaning brushes come in all shapes and sizes and are designed with specific intent for various bits of the bike, it’s not always obvious what these intentions are (!?) I just use them where they seem to work, generally smaller brushes to get into the drive chain and bigger brushes for the frame and wheels.
You can of course use general brushes such as toothbrushes, dish brushes, cloths, towels and sponges etc.
The main thing to consider is that you have separate brushes/clothes/sponges for the drive chain versus the rest of the bike.
This is to prevent spreading the thick black grease from the drive chain to the rest of the bike where it can be hard to remove.

Water source
For water you can use a hose, a garden pressure spray, a watering can, a bucket of water or a pressure washer/car jet wash at the petrol station – but with caveats.
Pressure washers are great for cleaning the frame and around the rims of the wheels but should not be pointed directly at any areas where there are bearings as the high pressure could force the grease out of the bearings, causing them to seize up.
It is prudent to also be aware of this with an extra high-pressure hose setting however most hoses are not high pressure enough to cause damage.
Any part of the bike that moves contains bearings:
- headset where the handlebars twist
- bottom bracket where the pedals run through the frame
- hubs at the centre of the wheels
- for full suspension bikes any pivot points on the frame
These are the points that you should avoid directing the pressure washer directly towards.


How often should you wash your bike?
It depends, I wash it much less in summer but in winter, especially if I’ve been riding on the road, I’ll rinse it as a minimum after every ride to rinse off the salt from the road – this is very corrosive and you don’t want to leave your bike covered in it.
The drive train
The part of the bike that needs the most maintenance/cleaning is the drive train, this includes the front chain ring/s, the chain, the cassette and the rear mech.
It includes the main moving parts driving the bike, so it wears out the quickest and these days it’s expensive to replace, the longer it is left and used in a dirty state the quicker it wears out.
This can be cleaned with the usual bike cleaning spray (and your separate designated brushes/cloths/sponges). But you can get specific chain cleaners/degreasers usually in sprays and general non-bike specific degreasers such as a citrus degreaser, which work just as well.
If using a spray degreaser, spray onto the drive train and use your designated brushes/cloths to scrub the grease off the cassette, chainrings and the jockey wheels (the small chain wheels on the cage of the rear mech/derailleur).
A good way to clean the jockey wheels is to hold a brush/cloth against them while backpedalling the chain to spin them and scrape the grease off that can build up very thickly there.

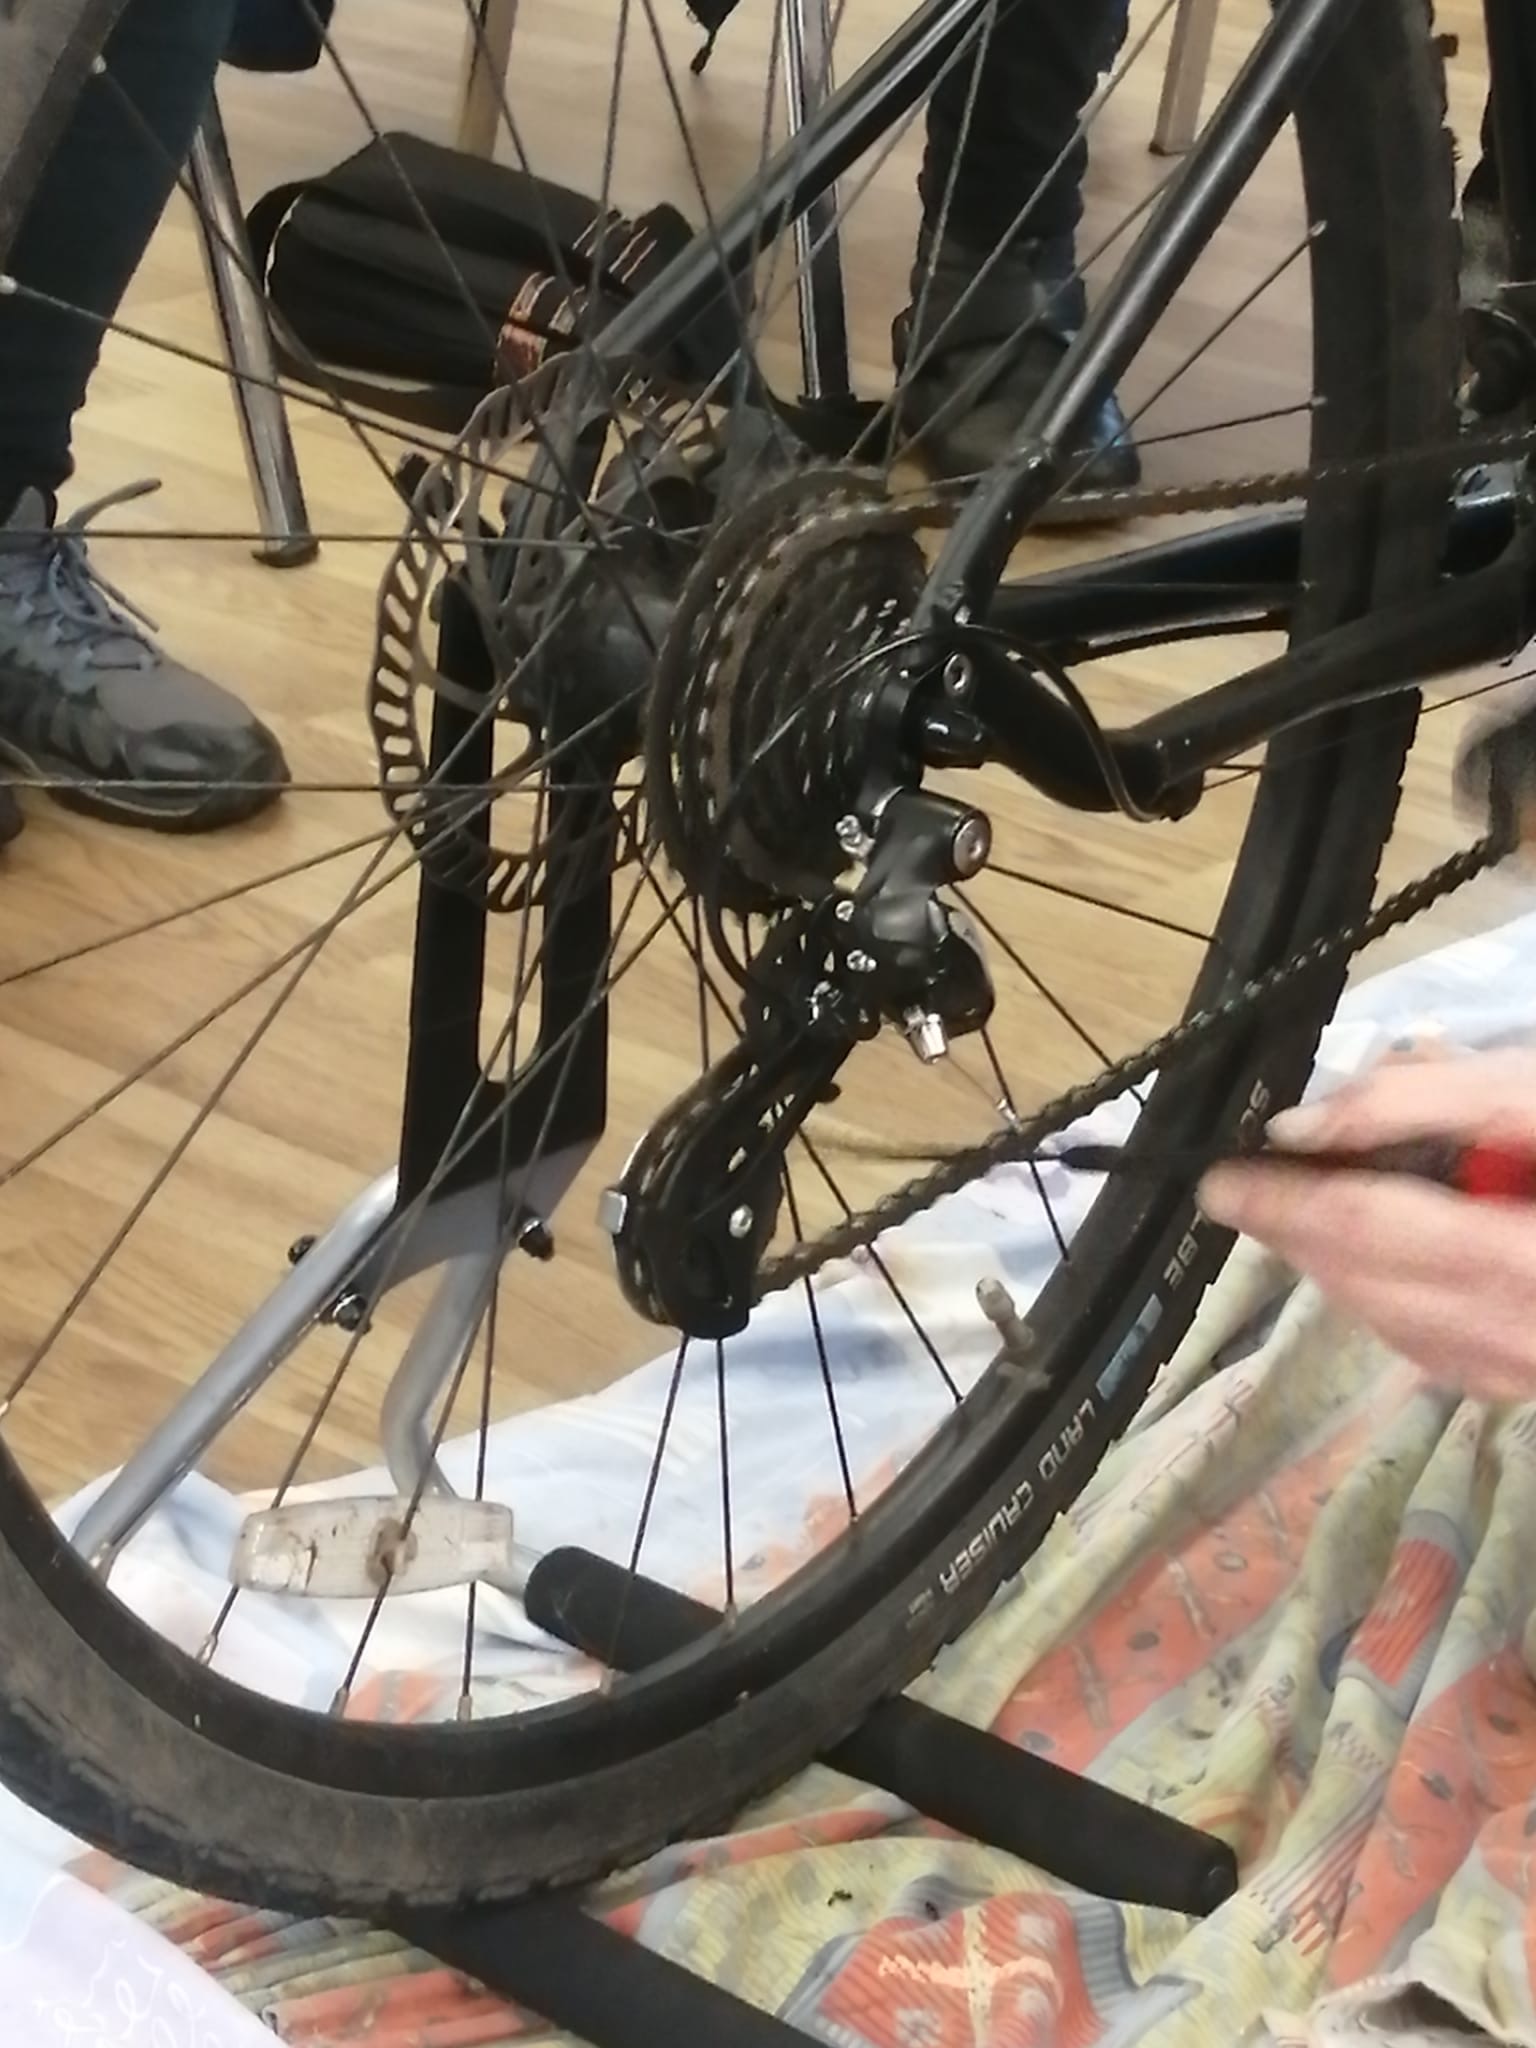

To clean the chain you can again backpedal to spin the chain across/between brushes/cloths/sponges etc.
You can also get specific chain cleaning tools that make this job easier – reducing the number of hands you need to hold everything.
My tool shown in the pictures is a Park Tools version which is particularly good. I have had mine for several years but there are many other brands.
It is basically a tool designed to hold brushes, sponges and degreaser and clip over the chain, allowing you to backpedal the chain through the tool while the brushes clean both the inner and out parts of the chain and circulate the degreaser through it.
They work very well and you can see the dirt coming off the chain as you use it.
The Park Tools version has a nice design feature of a removable magnet that clips to the bottom, the magnet draws the metal fragments away from the chain as it’s cleaned and holds them down at the bottom of the tool.
It can then be removed allowing you to clean the tool easily.


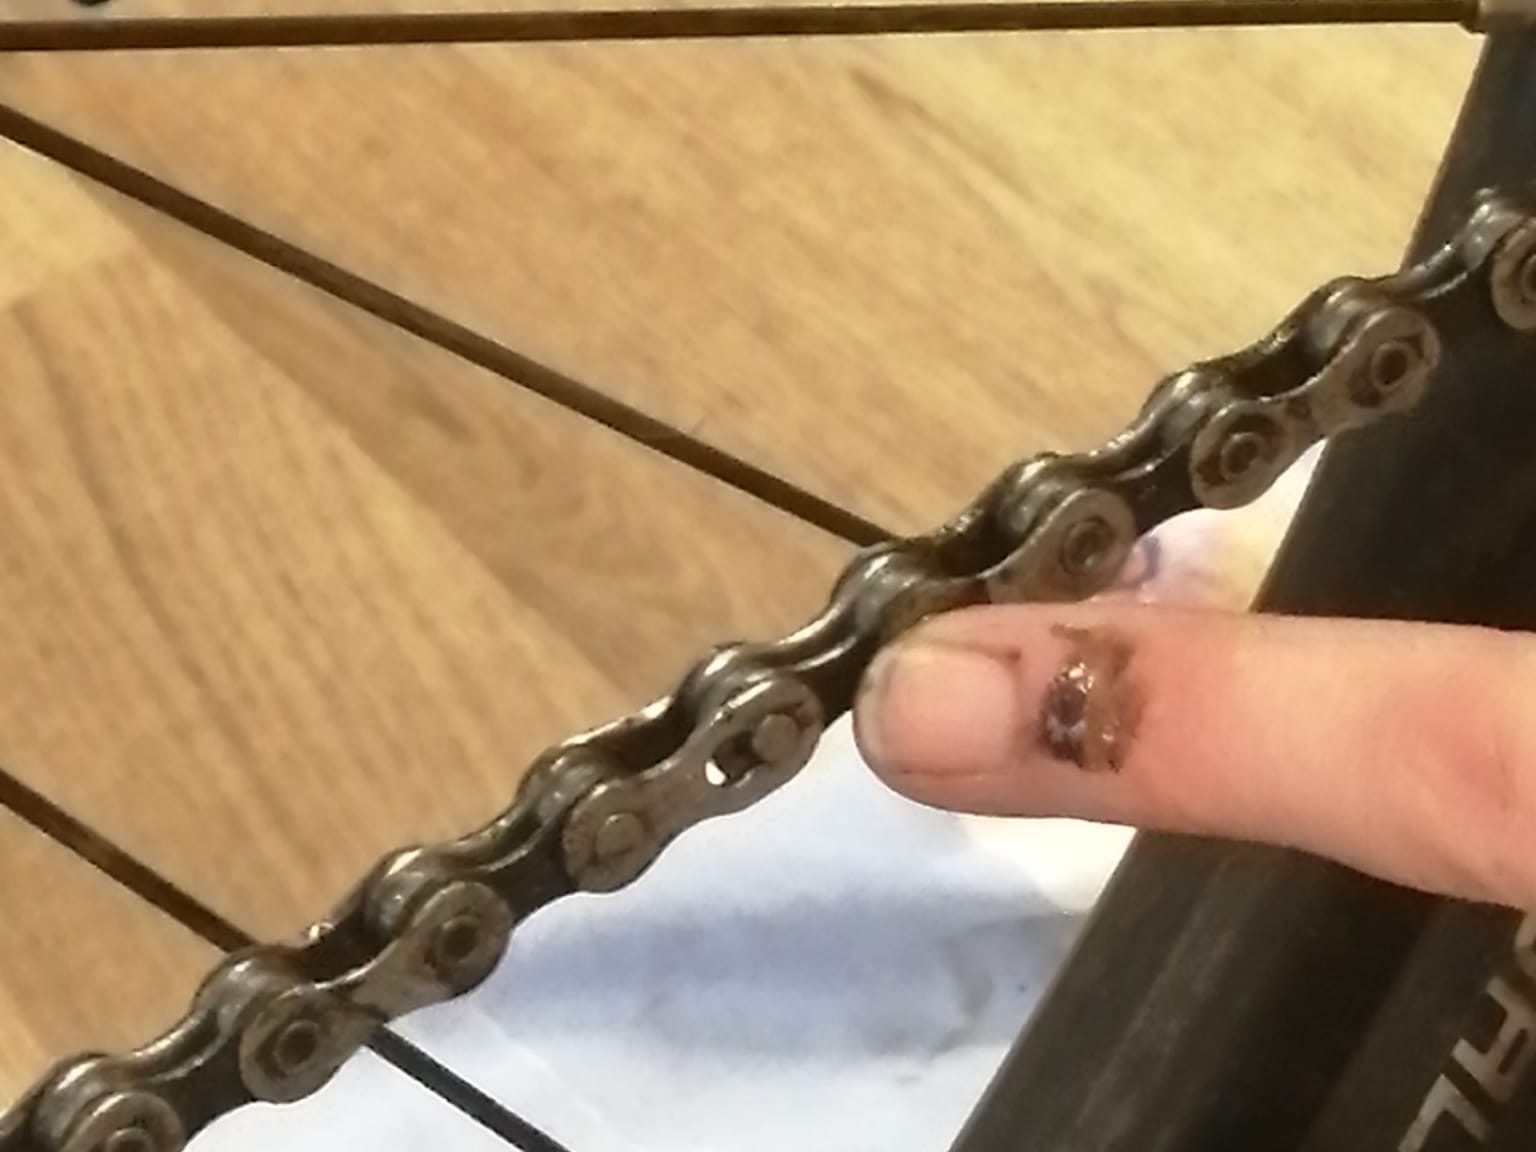
Another option for a very thorough clean is to remove the chain from the bike and soak it in a degreaser.
A chain can be taken off by separating the split link (see pic).
These can be awkward to open the easiest way to do it is using a special tool called chain link pliers, but normal pliers can also be used.


Once cleaned rinse the degreaser from the drive chain.
At this point, if you are putting your bike away you do not need to lube the chain right away, but if you have used a degreaser this will have removed all lube from the chain so it will need to be lubed before your next ride.
If you just leave it after rinsing it off it’s quite likely to be orange when you come back to it in a few days.
To prevent this you can either lube it straight away with chain lube or use a water dispersing spray the most popular being WD40 or GT85.
These two sprays are slightly different.
GT85 contains PTFE which means it is more lubricating than WD40, but at this point in the process, it is the water dispersal property we really want from the spray as neither spray is lubricating enough for a bicycle chain to be used alone for the purpose of lubrication.
I personally use WD40 of the two as it is slightly better at dispersing water and generally a bit cheaper but there are also other brands.

Chain wear
Once you have either lubed or sprayed the chain with a water disperser and wiped off any excess, you can put your bike, ready and waiting for your next ride with a nice non-orange chain.
Following a thorough clean, it’s a good opportunity to check your chain for wear before you put it away.
This can be done with a simple tool that measures if the chain has stretched.
A chain is composed of individual chain links which are simply two flat faces linked by pins that go through small metal rings called rollers.
As the chain is used over time the rollers and pins are rubbed against each other which removes metal from the surface and so they gradually wear away.
If they are greasy and dirty this allows grit and sand to stick to the chain which speeds up the wear and tear.
The removal of metal from the surfaces loosens the fit of the pins and rollers which lengthens/stretches the chain.


The chain and the cassette wear out together, as the chain gets longer, the links don’t sit as well on the teeth of the cassette, this, in turn, speeds up the wear and tear of the cassette.
At a certain point of wear, you can no longer get away with putting a new chain on an old cassette as they will not mesh well together and cause unreliable gears that skip.
Chains are cheaper than cassettes and so if the chain is replaced before it gets too long and wears out the cassette, the cassette will have a much longer life.
To catch the chain wear in time it’s a good idea to check it with a chain length tool periodically after you’ve given the drive chain a good clean.
The standard tool has two measurements 0.75mm stretch and 1.0mm stretch.
Pros and pedantic cyclists with very expensive bikes may use a tool that detects stretch as low as 0.5mm.
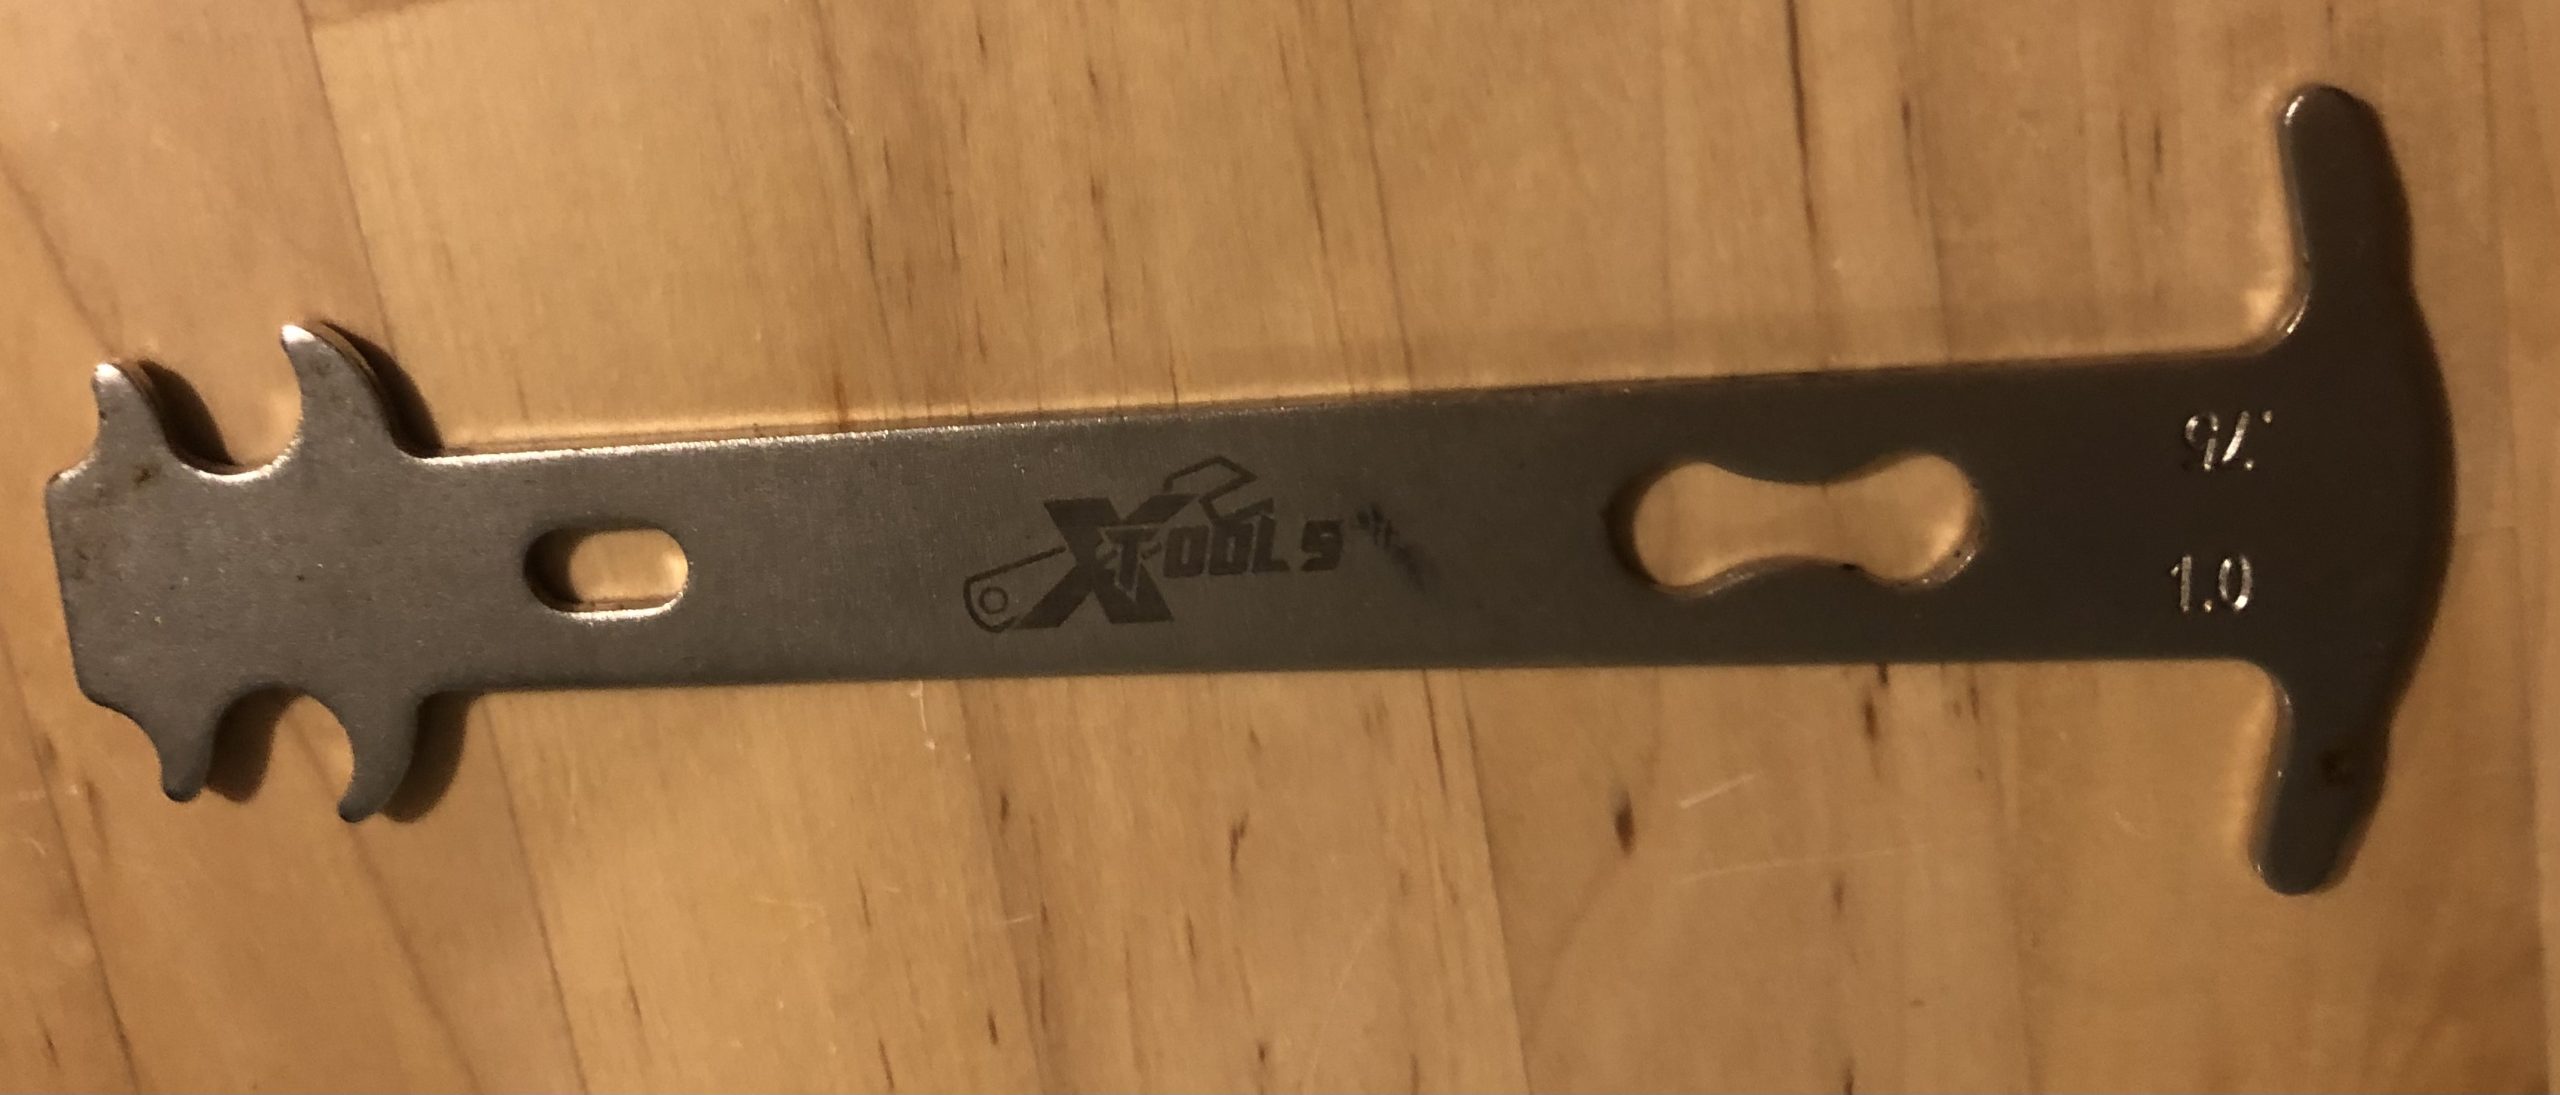
If the stretch is 0.75 or less then you are all good.
Once the 0.75 level is reached it’s time to change the chain as long as it’s still less than 1.0, once it reaches 1.0 and beyond it’s too late and the cassette will also need replacing along with the chain.
However, if your gears are still functioning well and your chain is beyond this point just keep using both for as long as they work well enough. Both my bikes are in this state but the gears still work well enough so I’ll keep riding them for as long as I can get away with it.
To use the tool place it into the links of the chain. If it doesn’t slot in it means the chain is shorter and so not worn out. If the tool slots into the links and sits flat along the chain, it means the chain has reached that tool’s length of stretch.


Lubing the chain
If you degreased the chain it will require lubing before your next ride.
There are three main types of bike chain lube, wet, dry and multipurpose.
These names refer to the conditions, wet lube for wet weather and dry lube for dry conditions, multi-purpose is somewhere in the middle and intended for use in all conditions.
Wet lube is thicker and stickier, this is so it stays on the chain longer and resists being washed off by the rain. On the downside, this also helps more dirt, grit and sand stick to the chain. Regular cleaning when using it in wet dirty conditions is advised.
Dry lube, on the other hand, is thinner and less sticky, it is less attractive to dirt and grit but will also wear off quicker especially if used in wet conditions, when using dry lube bear in mind you’ll need to re-lube more often. I tend to use dry lube most of the time and save the wet lube for the worst conditions, again multi-purpose lube can be a good compromise.
Again there are lots of brands and you can also get wax lubes that are meant to be cleaner, again these are lighter and best used in good conditions on road bikes. The most important thing is that you use a proper chain lube and apply it correctly.
When lubing the chain, apply the lube to the top of the chain so that it sinks into the chain links.
There is a tendency to over lube a chain which isn’t a good thing as it wastes lube and helps stick more dirt to the chain.
You only need to squeeze lube over the chain for one complete circuit.
It helps to have a reference to know when you have been around the whole chain once, the quick link can be used for this if you can spot it.
Once the chain has been covered in lube, spin it vigorously for 10-20 seconds to work the lube into the chain, you want it to sink in and lube the spaces between the rollers.
Finally, wipe any excess lube off the outer faces of the chain. This area does not require lube and any excess again just helps attract dirt and grit.
Spray lubes like GT85 are even lighter than dry lube and not specifically designed for lubing chains and will wear off quickly.
Brakes
The main message about brakes is to leave them alone.
They do not need cleaning directly as they self-clean in use.
It’s best not to touch them unnecessarily as you can transfer the oils from your fingers.
Getting bike cleaning spray on them isn’t an issue and it will rinse off but you don’t need to use up your spray cleaning them specifically.
While using chain lubes and water dispersing sprays, ensure that you don’t get any onto the brake discs and angle any sprays away from the discs.
I always spray the chain on the lower side close to the front chainrings.
However, if you have rim brakes the same applies to the wheel rims, and in this case, you have to be even more careful when spraying/lubing the chain.
If you do get spray/lube onto the discs/rims remove it asap (alcohol or brake disc cleaner spray). Do this before you spin the wheel and the disc through the brake calliper, which could get the grease onto the brake pads.
If you contaminate the (disc) brake pads they need to be replaced as they can’t be cleaned.
